close
MVC stands for Model View Controller. The model view controller pattern is the most used pattern for today’s world web applications. At present, there is more than a dozen PHP framework based on MVC pattern. The MVC pattern separates an application in 3 modules: Model, View, and Controller.
CodeIgniter is one of the most popular PHP framework and it follows the MVC pattern. Web Developer can be able to build full-featured web applications with CodeIgniter.
This tutorial is aimed to introduce the CodeIgniter framework and step-by-step setup & installation guide for the beginners. In this tutorial, beginners will be able to learn the CodeIgniter development process from the scratch and create a basic CodeIgniter application. Our step by step tutorial helps web developers to learn CodeIgniter quickly and easily.
We will focus on the following topics in this CodeIgniter Tutorial for Beginners.
Configuration & Installation:
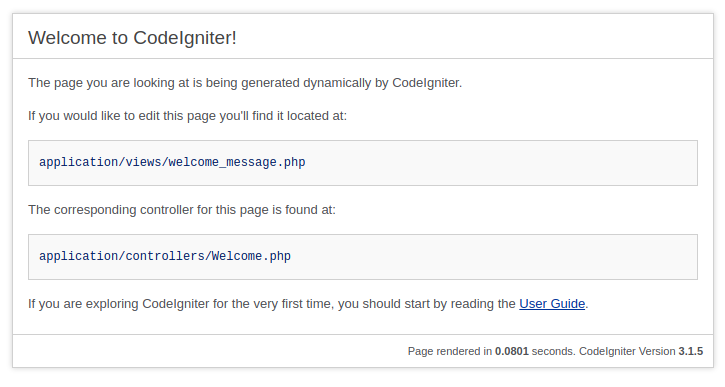
http://localhost/codeigniter/) of codeigniter application on the browser, the following screen will appear.
application/config/config.php file in a text editor and set the base URL of your web application.
http://localhost/codeigniter/) in $config[].
$config['base_url'] = 'http://localhost/codeigniter/';
application/config/database.php file in a text editor and specify your database credentials in $db[].
hostname – Database host name.username – Database username.password – Database password.database – Database name.$db['default'] = array(
'dsn' => '',
'hostname' => 'localhost',
'username' => 'root',
'password' => 'db_pass',
'database' => 'codexworld',
'dbdriver' => 'mysqli',
'dbprefix' => '',
'pconnect' => FALSE,
'db_debug' => (ENVIRONMENT !== 'production'),
'cache_on' => FALSE,
'cachedir' => '',
'char_set' => 'utf8',
'dbcollat' => 'utf8_general_ci',
'swap_pre' => '',
'encrypt' => FALSE,
'compress' => FALSE,
'stricton' => FALSE,
'failover' => array(),
'save_queries' => TRUE
);
Controller & View Creation:
Now we will create the new controller called Home and load our new view.
application/controllers/ directory and create a PHP file called Home.php. Open this Home.php file in text editor and create a class named Home and extends this class from CI_Controller.
<?php
defined('BASEPATH') OR exit('No direct script access allowed');
class Home extends CI_Controller {
}
Note that: The first letter of the file name should be uppercase and same with the class name.
application/views/ directory and create a view file (home_view.php) for Home controller. Open this home_view.php file and write some HTML code.
<?php defined('BASEPATH') OR exit('No direct script access allowed'); ?> <!DOCTYPE html> <html lang="en"> <head> <meta charset="utf-8"> <title>Welcome to My First CodeIgniter Application</title> </head> <body> <div id="container"> <h1>Welcome to My First CodeIgniter Application!</h1> <div id="body"> <p>If you would like to edit this page you'll find it located at:</p> <code>application/views/home_view.php</code> <p>The corresponding controller for this page is found at:</p> <code>application/controllers/Home.php</code> </div> </div> </body> </html>
index() method to adding logic to the controller. In the index() method, the view() function will be used to load view file (home_view.php).
<?php
defined('BASEPATH') OR exit('No direct script access allowed');
class Home extends CI_Controller {
public function index()
{
$this->load->view('home_view');
}
}
Welcome controller class is loaded on application load. Open the application/config/routes.php file text editor and specify the new controller class (Home) as default controller.
$route['default_controller'] = 'home';
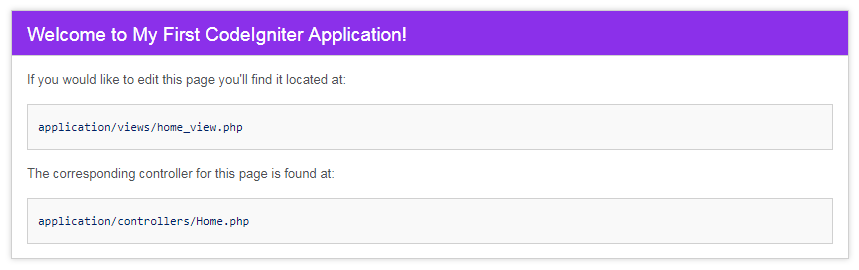
Our Home controller is now functioning. Point your browser to base URL (http://localhost/codeigniter/) to open the new home page.
In this section, we will use the database with the CodeIgniter application. In this tutorial part, the images will be retrieved from the database and display into CodeIgniter application.
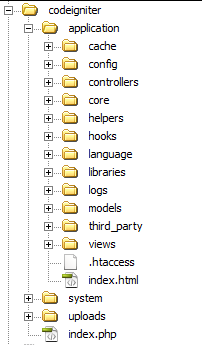
Before you get started to create CodeIgniter application with database, take a look at the file structure.
Create Database Table:
Before querying the database, create a new database with your desired name. Once done, create a table named “images” to store the file information. Run the following SQL to create images table in the MySQL database.
CREATE TABLE `images` ( `id` int(11) NOT NULL AUTO_INCREMENT, `name` varchar(255) COLLATE utf8_unicode_ci NOT NULL, `uploaded_on` datetime NOT NULL, PRIMARY KEY (`id`) ) ENGINE=InnoDB DEFAULT CHARSET=utf8 COLLATE=utf8_unicode_ci;
Upload Images:
Create a directory (uploads/) into the CodeIgniter’s root to store the image files. For testing purpose, insert some images into this directory and the file names in the images table of the database.
INSERT INTO `images` (`id`, `name`, `uploaded_on`) VALUES (1, 'image1.jpg', '2017-09-28 10:30:00'), (2, 'image2.jpg', '2017-09-28 10:30:00'), (3, 'image3.jpg', '2017-09-28 10:30:00'), (4, 'image4.jpg', '2017-09-28 10:30:00'), (5, 'image5.jpg', '2017-09-28 10:30:00');
Connect Database:
To connect and access the database, you need to configure your database by specifying the database hostname, username, password, and name in the application/config/database.php file. Open the application/config/database.php file and set the following values.
$db['default'] = array(
    'dsn'    => '',
    'hostname' => 'localhost',
    'username' => 'root',
    'password' => 'db_pass',
    'database' => 'codexworld',
    'dbdriver' => 'mysqli',
    'dbprefix' => '',
    'pconnect' => FALSE,
    'db_debug' => (ENVIRONMENT !== 'production'),
    'cache_on' => FALSE,
    'cachedir' => '',
    'char_set' => 'utf8',
    'dbcollat' => 'utf8_general_ci',
    'swap_pre' => '',
    'encrypt' => FALSE,
    'compress' => FALSE,
    'stricton' => FALSE,
    'failover' => array(),
    'save_queries' => TRUE
);
Create Model
Instead of writing database queries in the controller, it should be placed in a model. Models are the place where all the database related operations (retrieve, insert, update, delete, etc.) are done.
application/models/ directory and create a new file called Home_model.php and add the following code.$this->db object.get_images() method is defined to fetch the images from the database.<?php if ( ! defined('BASEPATH')) exit('No direct script access allowed');
class Home_model extends CI_Model {
public function __construct()
{
$this->load->database();
}
public function get_images()
{
$query = $this->db->get('images');
if($query->num_rows() > 0){
$result = $query->result_array();
return $result;
}else{
return false;
}
}
}
Display Images from Database:
The model has been set up, now it will be tied to the views that display the images to the users. This will be done in our Home controller created earlier.
Open the application/controllers/Home.php file and make the following changes.
__construct() method, it calls the constructor of its parent class (CI_Controller) and loads the Home model.index(), it gets images from the database using model’s get_images() method and passes the images data to view.<?php
defined('BASEPATH') OR exit('No direct script access allowed');
class Home extends CI_Controller {
public function __construct()
{
parent::__construct();
//load model
$this->load->model('home_model');
}
public function index()
{
//get data from the database
$data['images'] = $this->home_model->get_images();
//load view and pass the data
$this->load->view('home_view', $data);
}
}
Open the previously created application/views/home_view.php file and write the following codes to display all images which are passed from the controller.
<div class="gallery">
    <ul>
    <?php foreach($images as $img): ?>
        <li><img src="uploads/<?php echo $img['name']; ?>" /></li>
    <?php endforeach; ?>
    </ul>
</div>
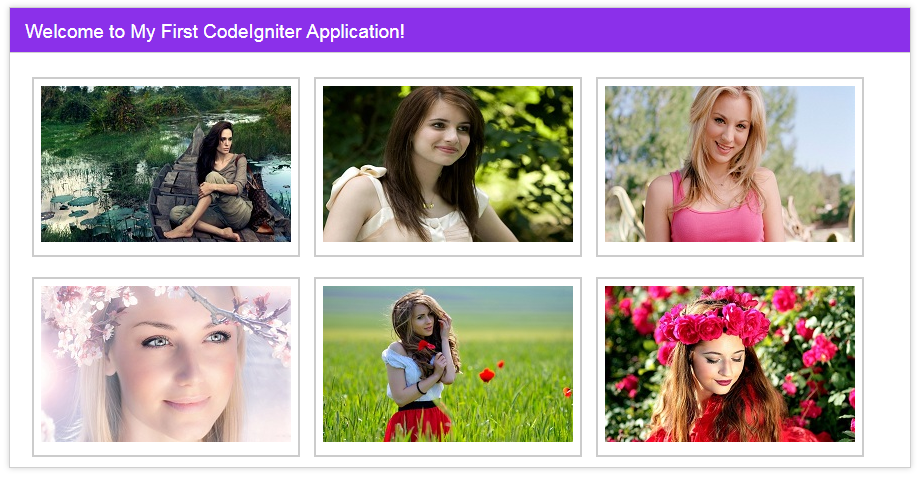
Now point your browser to homepage URL (http://localhost/codeigniter/), the images will appear on the screen.
CRUD Operations in CodeIgniter with MySQL
You can download the example CodeIgniter project which has created by following this tutorial. Only some minimal configuration needed to install this demo CodeIgniter application on your server. You only need to download the demo project from the source code link, extract the zip file and follow the instructions given in the ReadMe.txt file.
Looking for expert assistance to implement or extend this script’s functionality? Submit a Service Request
💰 Budget-friendly • 🌍 Global clients • 🚀 Production-ready solutions


Thank you for your great infornmation
Grazie. Tutorial molto chiaro e che funziona!
Nice Tutorial.
Include much more details.
thank you so much for ur tutorial this is nice its very easy to understand. thanks a lot please upload more for us 🙂
thanks. very nice tutorial
superb and crisp
thanks really a good start.
what does “Create a directory (uploads/) into the CodeIgniter’s root” means?? where should be the images kept, imean which folder? please if someone can help its urgent
Thanks, A very clear tutorial for beginners in CI ,understand codeignator easily,i have learned more and quick
Its a nice start.
thanks. very nice example and learn to beginers best.
Hello,
How can i import “images.sql” in MySQL Workbench. Thanks
thanks. very nice tutorial for beginers.