close
CakePHP is an open source PHP 5.4+ framework, helps to building both small and complex systems. It follows the Model-View-Controller (MVC) approach. CakePHP makes building web applications simpler, faster and require less code.
CakePHP has released 3.x versions with many changes. This tutorial will guide you for getting started with CakePHP 3.x framework and provide basic guide of CakePHP 3.x application development. Our step by step CakePHP 3.x tutorial helps beginner for learn CakePHP 3.x from scratch. Also we will develop a sample project with CakePHP 3.x for your better understanding.
Download the pre-installed release of CakePHP 3.x from Github – CakePHP Releases
Step1:- Before installing CakePHP we are needed to check some configuration in our server.
mbstring and intl extensions are enabled in PHP.pdo_mysql enabled in PHP.Step2:- Extract zip file and change folder name with your desire project name. For example cakephp/.
Step3:- Move the cakephp/ folder to the localhost server. Your directory setup would look like the following.
Step4:- Directory Permissions – The tmp and logs directories need to have write permissions. So, make these directories to be writable.
Step5:- Creating Database – Create a database at the phpMyAdmin. For example cakephp_db.
Step6:- Database Configuration:
Open the config/app.php file and replace the values in the Datasources.default array with database details. The completed configuration array might be look like the following.
'Datasources' => [
        'default' => [
            'className' => 'Cake\Database\Connection',
            'driver' => 'Cake\Database\Driver\Mysql',
            'persistent' => false,
            'host' => 'localhost',
            'username' => 'root',
            'password' => '',
            'database' => 'cakephp_db',
            'encoding' => 'utf8',
            'timezone' => 'UTC',
            'cacheMetadata' => true,
            'quoteIdentifiers' => false,
        ],
]
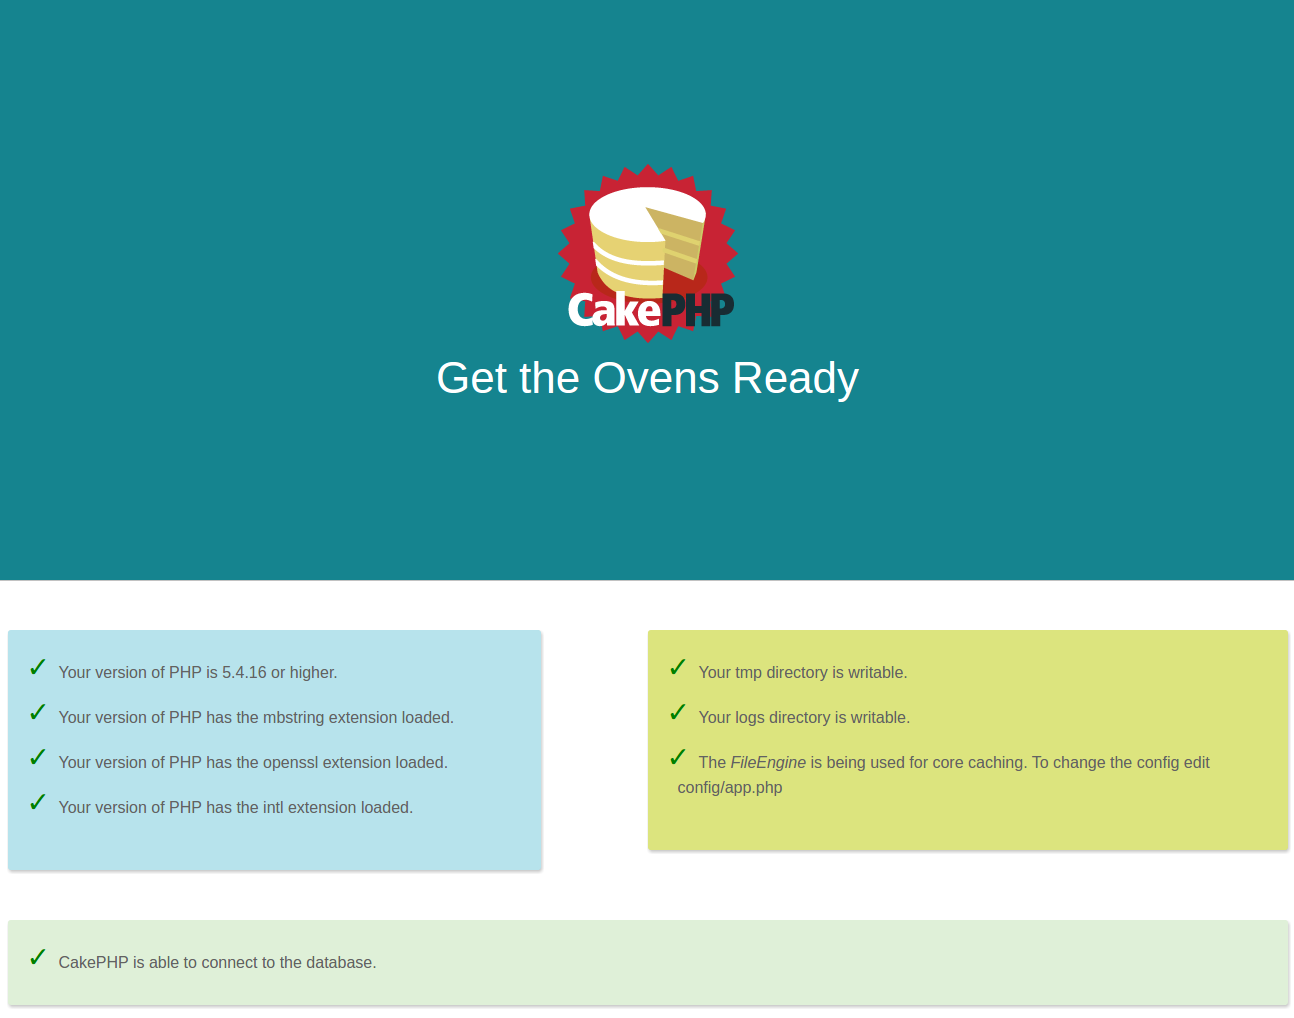
Step7:- Run the application URL (http://localhost/cakephp/) at the browser, screen would look like the below.

Before start to building a sample project, we should know about the Naming Conventions of CakePHP 3.x.
Controller Conventions – Controller class names are plural, CamelCased, and end in Controller (PostsController, LatestPostsController etc.).
Model and Database Conventions – Model class names are plural, CamelCased, and end in Table (PostsTable). Database Table names corresponding to CakePHP models are plural and underscored (posts).
View Conventions – The basic pattern of view template file is src/Template/Controller/underscored_function_name.ctp (src/Template/Posts/index.ctp).
We are going to build a sample application using CakePHP 3.x. This sample application will fetch some posts from database and display those posts data and display those posts data at the browser.
Create a posts table:
CREATE TABLE `posts` (
 `id` int(11) NOT NULL AUTO_INCREMENT,
 `title` varchar(255) COLLATE utf8_unicode_ci NOT NULL,
 `description` text COLLATE utf8_unicode_ci NOT NULL,
 `created` datetime NOT NULL,
 `modified` datetime NOT NULL,
 `status` tinyint(1) NOT NULL DEFAULT '1' COMMENT '1 = Active, 0 = Inactive',
 PRIMARY KEY (`id`)
) ENGINE=InnoDB DEFAULT CHARSET=utf8 COLLATE=utf8_unicode_ci;
Insert some posts data for testing purpose:
INSERT INTO
    `cakephp_db`.`posts` (`id`, `title`, `description`, `created`, `modified`, `status`)
VALUES
    (NULL, 'Distance between two addresses using Google Maps API and PHP', 'Calculate distance between two addresses........', NOW(), NOW(), '1'),
    (NULL, 'Ajax Pagination in CodeIgniter Framework', 'CodeIgniter have the pagination library by........', NOW(), NOW(), '1'),
    (NULL, 'Create a custom WordPress Plugin from scratch', 'WordPress is the most popular open source content management.......', NOW(), NOW(), '1'),
    (NULL, 'Drag and drop reorder images using jQuery, Ajax, PHP & MySQL', 'Today we will discuss about the most useful........', NOW(), NOW(), '1'),
    (NULL, 'Drupal 7 installation and setup tutorial for beginners', 'Drupal is a content management system which allows........', NOW(), NOW(), '1');
Creating Posts Controller:
We’ll create a controller with the class name PostsController and place this new controller in a file called PostsController.php inside the src/Controller directory. Here’s what the Posts Controller is look like:
<?php
// src/Controller/PostsController.php

namespace App\Controller;

class PostsController extends AppController
{
    public function index()
    {
        $posts = $this->Posts->find('all');
        $this->set(compact('posts'));
    }
}
find() function is used for retrieve all the posts data. set() function is used to pass the posts data to view.
Creating Posts Model:
We don’t need to create model for retrieve data from post table.
Creating Posts Views:
CakePHP’s template files are stored into the src/Template directory. Into this directory we’ll have to create a folder named “posts” and create a index.ctp file. Our view code would be look like the below:
<h1>Blog Posts</h1>
<div class="row">
    <?php if(!empty($posts)): foreach($posts as $post): ?>
    <div class="post-box">
        <div class="post-content">
            <div class="caption">
                <h4><a href="javascript:void(0);"><?php echo $post->title; ?></a></h4>
                <p><?php echo $post->description; ?></p>
            </div>
        </div>
    </div>
    <?php endforeach; else: ?>
    <p class="no-record">No post(s) found......</p>
    <?php endif; ?>
</div>
Set Default Controller:
Open the config/routes.php file and set application base controller. Go to under the Router::scope() and into the $routes->connect() change controller name from “Pages” to “Posts”, action name from “display” to “index” and pass a param to select the view file to use.
$routes->connect('/', ['controller' => 'Posts', 'action' => 'index', 'index']);
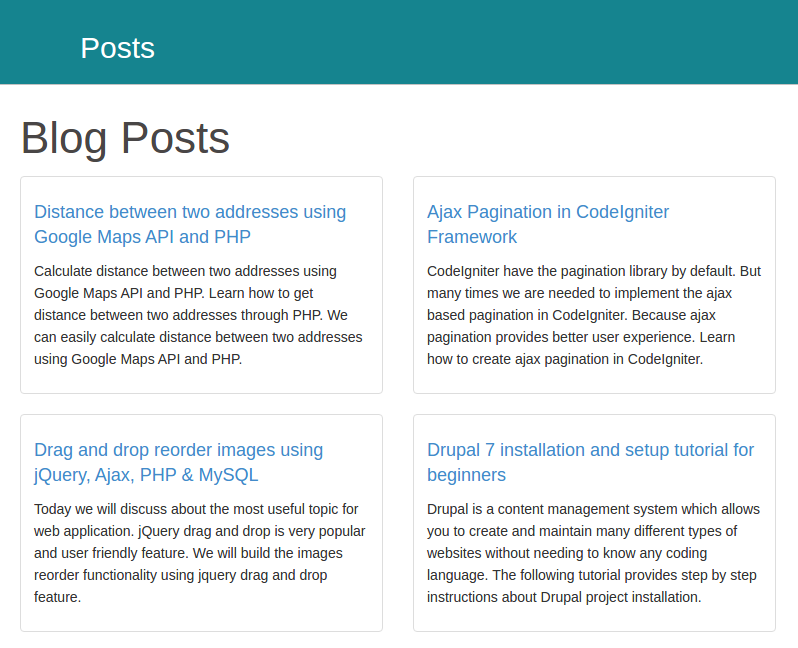
Refresh the page (http://localhost/cakephp/) at the browser, you can see screen like the below.

If you want to styling the post boxes like the above screenshot, just add the following CSS to the src/Template/Posts/index.ctp view.
h1{color: #494646;}
.row{ margin:20px 20px 20px 20px;width: 100%;}
.post-box {width: 30%;float: left;position: relative;min-height: 1px;padding-right: 15px;padding-left: 15px;}
.post-content {padding: 0;}
.post-content {display: block;padding: 4px;margin-bottom: 20px;line-height: 1.42857143;background-color: #fff;border: 1px solid #ddd;border-radius: 4px;-webkit-transition: all .2s ease-in-out;transition: all .2s ease-in-out;}
.post-content .caption {padding: 9px;color: #333;}
.post-content .caption p{font-size: 14px;}
.post-content h4 {font-size: 18px;margin-top: 10px;margin-bottom: 10px;}
.post-content a {color: #428bca;text-decoration: none;background: transparent;}
.post-content p {margin: 0 0 10px;}
.no-record{font-size: 16px;font-weight: bold;color: #DD4B39;padding: 10px}
That’s all, we has completed the basic setup of CakePHP 3.x application. We’ll be discuss about add, edit, delete functionalities at our next tutorial.
Do you want to get implementation help, or enhance the functionality of this script? Click here to Submit Service Request
Thanks you
well explained
thank you for proving this tutorial
A real step by step tutorial. Than you Sir.
I am tired with CI, but I am trying to learn cakephp , finally I got correct direction by this post.
Your step step process, I am really hapyyyy and impressed.
Thankuuuu CodexWorld
Dear Sir
I am beginner in cakephp so please tell me…
How to link(add) javascript and jquery in src/Template/Layout/default.ctp
It`s Good for me,,,,I am beginner in cakephp
please you Edit Delete Action Function also explain in this,,,,
@Rishi We’ve already published add, edit, and delete operations in CakePHP, read it from here – http://www.codexworld.com/cakephp-tutorial-part-2-add-edit-delete-operations/
Hii first of all i would like to thank you and please tell me how can i get next tutorial of CRUD in cakephp 3.X
@Shoeb We’ve already published the CRUD operations tutorial in CakePHP 3.x. You can see this tutorial from here – http://www.codexworld.com/cakephp-tutorial-part-2-add-edit-delete-operations/
Hey, thank you very much for this awsome tutorial.
I just encountered one little problem : when I list a table’s entries, I got the right number but the entries are displayed empty(the variable comes empty to my view).
For example :
this is empty => $row[‘student’][‘name’] but I still have echo working.
Would be glad is someone knew why :'( .
Anyway, good tutorial ! I feel I’m getting somewhere with cakephp !
Thanks in advance
Please provide a tutorial in which user select subcategories based on categories dynamically
Nice statement sir , Very usefull for me thank you sir
Thank you so much…useful tutorial for beginners…
hi! In cake php 3.0 what is the purpose of view folder and when it will be used. Earlier view folder was the one which is now become template folder . Can you please provide me an example
great!!
Thanq for such great cakephp code …please update new tutorials it seems to be very long time.
Hii,Can you tell me how to create array in cakephp 3.0??
Great, different kind approach than the mainstream tutorial. I have problem using Composer, that need to be online to use it, at the very least, one time.
good post. it’s very help me to understand about this framework. keep writing
Thank you for such a great tutorial.
My first cake php program is running successfully as per your tutorial. But it is showing a top bar with heading Posts with links of Cake php documentation and api on right side of top bar.
How can is remove the default top bar?
@Ashish
This default top bar is rendered inside the default layout. You can create your own layout or modify the default layout. Open the
src/Template/Layout/default.ctpfile and remove the header portion (<header></header>) for removing the top bar.Thank you
Hi, i have the version 3.0.12 of cakephp, and when i go to localhost/cakephp looks diferent! I need other css file? because i can find the class post-box neither post-content
@Elias
Tutorial has been updated with the css code. Add this css code to the
src/Template/Posts/index.ctpview.Where is the link for next tutorial? However, it is a good post.
Hi Rejaul,
Next tutorial will be published soon. Please subscribe our newsletter to get notified.